Showing posts with label Karen Griska quilt pattern. Show all posts

Thursday, March 17, 2016

April - Botanical Garden Quilt


Let's hurry the arrival of spring by making a classic 16-patch block with pretty floral fabrics of any color. Green foliage is good too. Use 2.5" wide strips. Have any jelly rolls handy?


Cut two strips: 2.5" x 42. (These will yield two blocks.) Then cut them in half on the fold (above). Sew two strips together lengthwise. Then cut the sewn strip in half lengthwise (below).


Place the two units together and sew (above). Press all 3 seams in the same direction.


Cut into 4 strips: 2.5" wide (above).


Turn two strips upside-down (above), making a checkerboard.


Sew the strips together. Press.

Enter the drawing once for each block that you contribute. 
This will make a beautiful springtime quilt!
Happy quilting!

Wednesday, August 12, 2015

September 2015 - Hashtag!


Start with a 6" square cut from solid white, off-white, or a very light print.
Cut 4 strips: 1.25" x 7.5" from a colorful print.


Cut the square in thirds vertically (2" x 6").
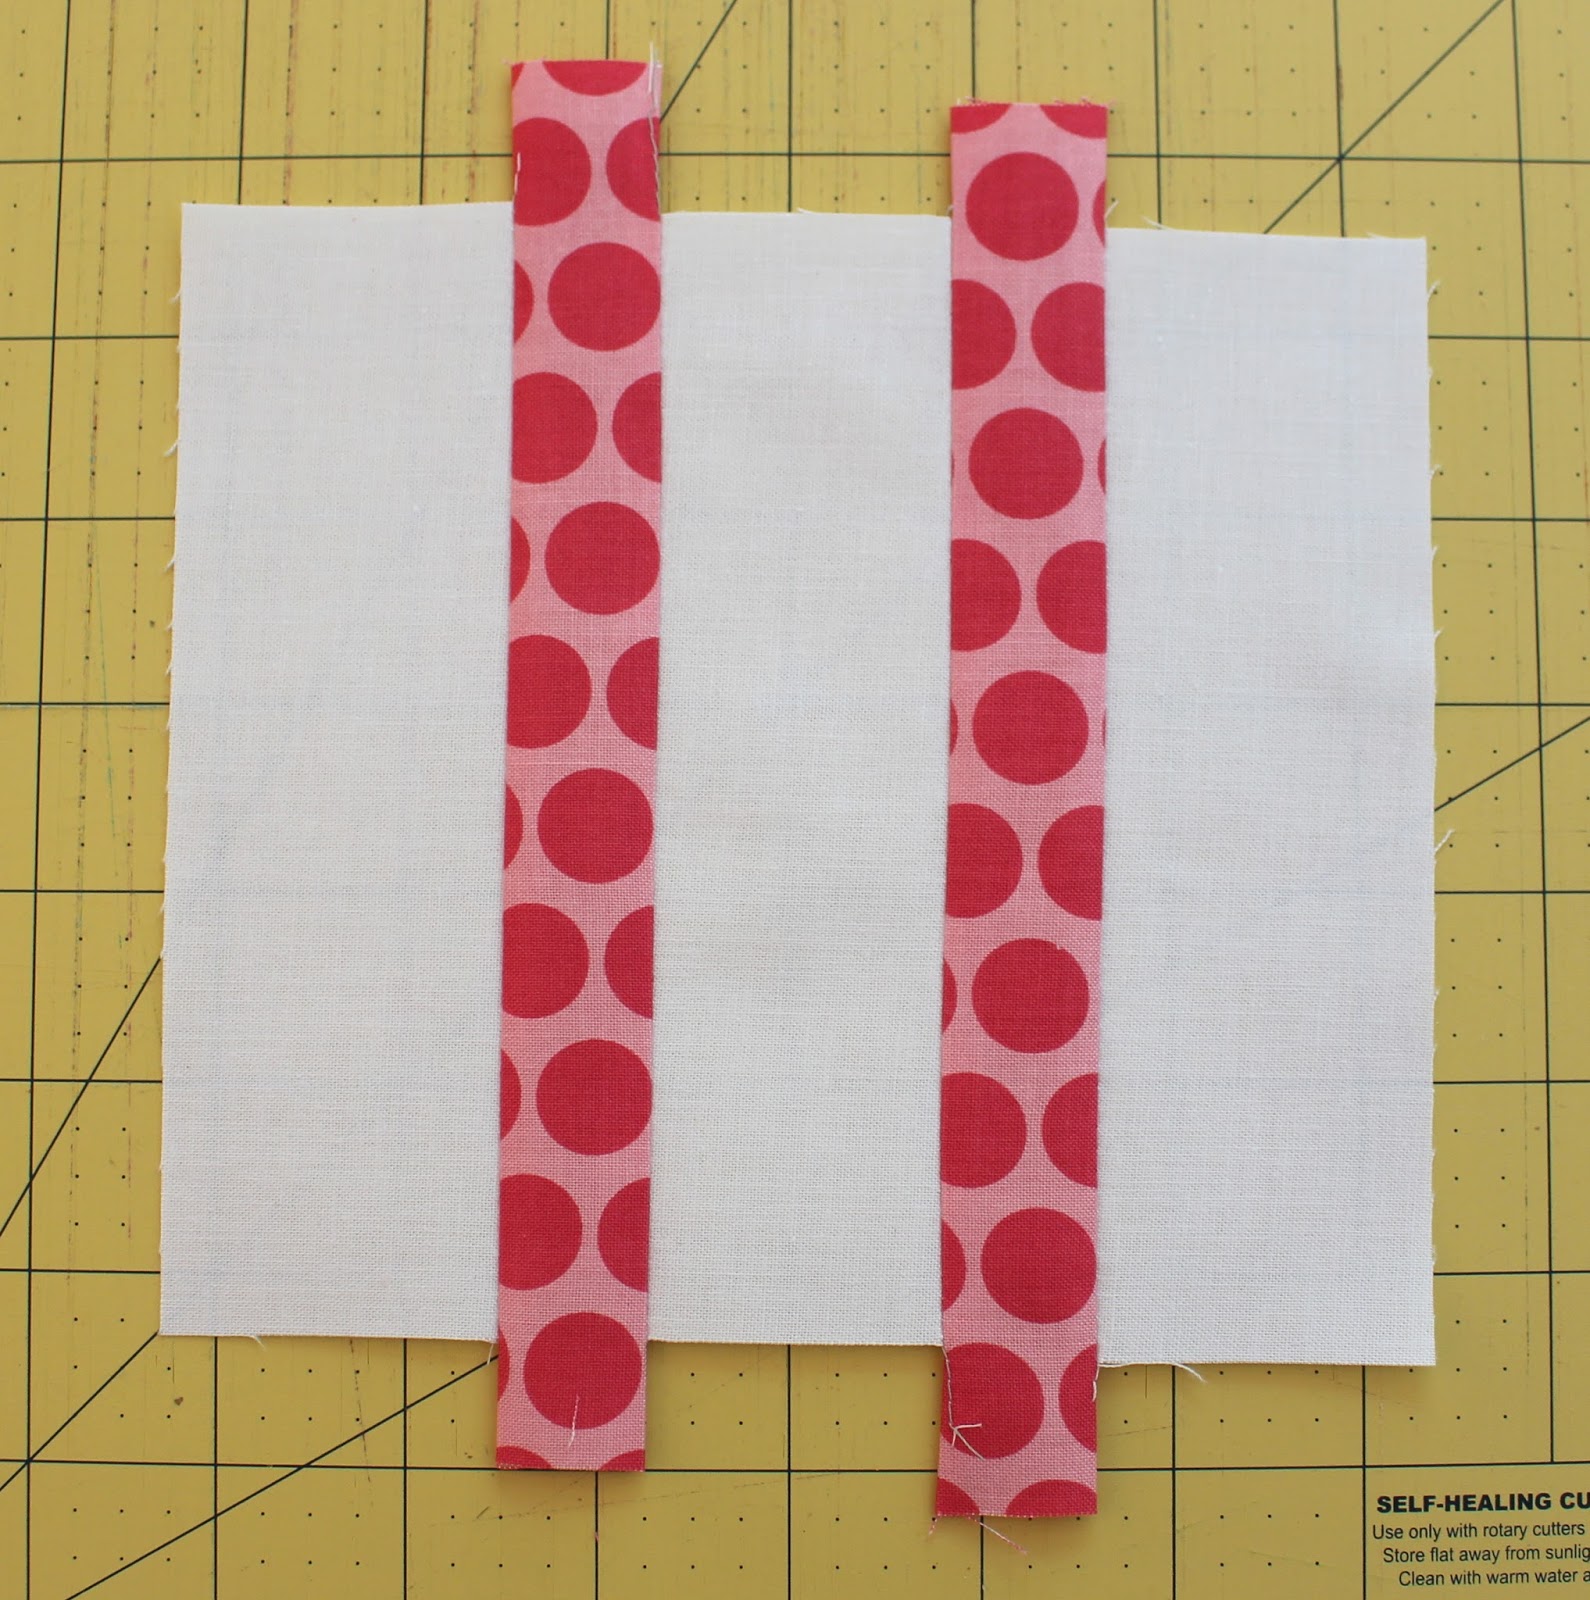
Insert two colored strips. Press seams toward the print.


Cut the square in thirds horizontally. Insert two strips. Press.


Trim to 6" x 6."


Enter your name in the drawing once for each block that you bring to the September meeting. You might be well on your way to making a new quilt! Enjoy!

Saturday, January 17, 2015

February Camp Quilt


Our quick and scrappy blocks for February will combine to make a quilt that's right at home in a lake cabin like the movie set for "On Golden Pond." You need a 6" square and a handful of 2" strips. It's quick. Go fast, don't fuss. This will look great with our big variety of fabrics!


Start with a 6" square yellow print or solid. Cut 2" strips from scraps to make 4 borders around this center square. Add them to the center square as shown.


Press closed to set seams. Then press open (shown above). This helps keep the seams straight.


You might want to alternate between borders of dark and light scraps.


After you add 4 borders, cut the block into quarters, as shown above.


Insert a vertical strip and 2 horizontal strips, as shown above. Trim. The finished block will be 18.5" square.  If the block sizes vary a bit, that will simply add charm. They can be trimmed as needed.


Remember, you add your name to the drawing once for each block that you bring to the meeting. The winner of the drawing gets all the blocks. See you at the Feb. meeting!


This is my finished sample quilt: "Golden Pond." You can see that I added some string borders between the blocks and around the outer edge. Optional pattern here.
 I can't wait to see all our blocks on the wall at the February meeting!


Sunday, November 3, 2013

Tea Basket Quilt (November Block!)


I got a little carried away making Tea Basket blocks for November! I just finished this quilt yesterday, and I love how it came out. The machine quilting was done by Maika Christensen of Utah (maika@familypieces.com); I recommend her highly. 

Scroll down for November BLOCK OF THE MONTH DETAILS. See you in Nov!


Monday, October 14, 2013

November: Tea Basket


This colorful scrap block is a quick little basket. All you need is four 3" squares cut from white or ivory, and some scraps from your fabric collection. The triangles are applied and sewn by eye. 


Start with a 3" square, and scraps of 3" squares cut on the diagonal.


Lay a triangle on the square as shown above. Do this "by eye." Sew along the long edge of the triangle, as shown below. Press open.


Apply the second triangle as shown below.


Again, sew along the long edge of the triangle. Press open.


Turn the square over and trim.


 Make 4 squares, and arrange them like this:


The seam allowances are a little thick, so it helps to press this block on a folded terry cloth towel.

This will make a pretty quilt for the winner of all the blocks. I'm making a bunch. 


Wednesday, May 15, 2013

June Block: French Macarons!


This is a quick and easy raw-edge applique block. Start with a 6" square and a 4 3/4" diameter circle (trace a CD to get the right size circle). Use a glue stick to hold the circle in place in the center of the square.


Topstitch the circle to the square using a straight stitch, buttonhole stitch, or a zig-zag stitch, as shown below. (I used a straight stitch, so I sewed around the circle twice, about 1/4" from the edge.)


After sewing, press. Then cut the square in half, horizontally, as shown below. Turn the bottom rectangle upside-down and sew the two together so that the block looks like the one at the top of this post.


FABRIC RECIPE: Choose prints and/or solids in tasty colors. Think: pink and red fruits, lemon, grape, orange, coffee, chocolate, etc. Also lacy prints, damasks, stripes, little dots, pastels. See the colorful macarons and my quilt in-the-works below.


Enter your name in the drawing once for each block that you bring to the June meeting.
Have fun!